Configure Heroku for SSO
About this task
To complete single sign-on (SSO) setup for Heroku, configure these steps to enable SSO for users.
|
Make sure you have the following information from PingFederate:
|
Steps
-
Go to https://dashboard.heroku.com/orgs/<ORGANIZATION_NAME>/settings.
-
Sign on with your administrator credentials.
-
In the Single Sign On section, click Add Metadata Manually.

-
Enter the SSO Application endpoint into the IdP Login Redirect URL field.
https://<pf_host>:<pf_port>/idp/startSSO.ping?PartnerSpId=<IdP_connection_entity_id>
An email will be sent to new Heroku users instructing them on how to initiate SSO with the SSO Application endpoint.
-
Copy and paste the SAML 2.0 Entity ID and signing certificate into the Identity Provider Issuer URL and Public Certificate fields, respectively.
To override the SAML 2.0 Entity ID on the Server Settings page for your SP Connection, go to the General Info page and add a
Virtual Server ID. This value sends as the SAML Issuer URL.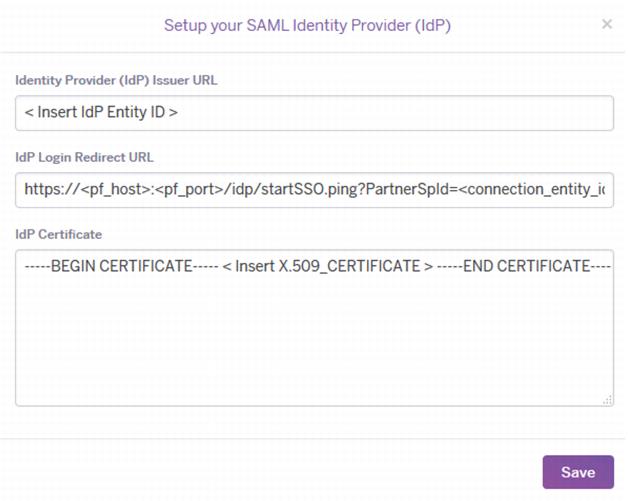
-
Click Save.